
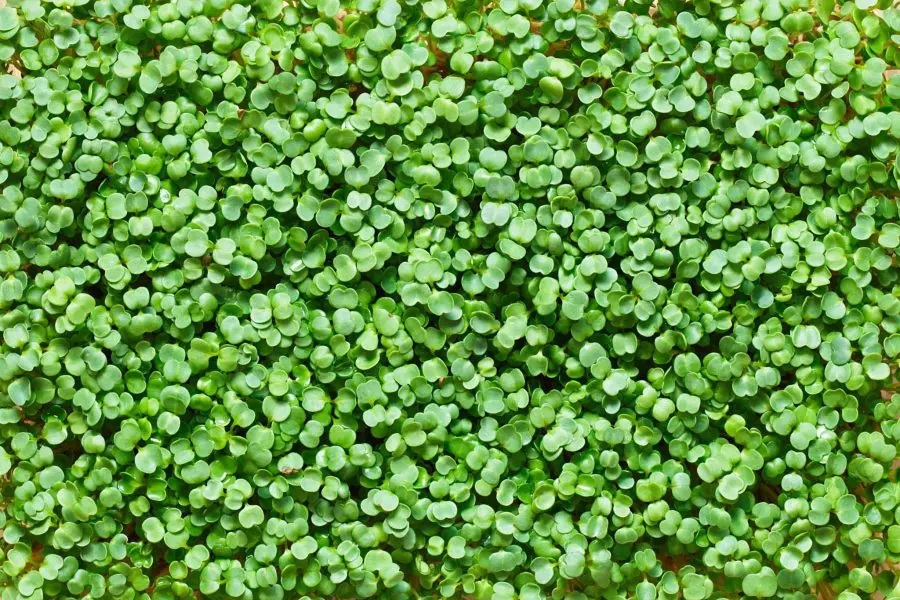
How To Grow Arugula Microgreens is a great beginner project if you like bold peppery greens and fast harvests. Arugula grows quickly, takes very little space, and adds a strong fresh flavor to salads, sandwiches, and wraps.
Unlike some milder microgreens, arugula brings that classic spicy rocket flavor in a much smaller form. It’s easy to grow indoors and usually ready to harvest in under two weeks.
In this guide, I’ll walk you through how to grow arugula microgreens step by step and show you how to keep them growing strong without mold or weak stems.
🌿 What You’ll Learn
- How to grow arugula microgreens indoors in 7 easy steps
- Why coco coir works so well for arugula seed
- How to avoid mold and leggy growth
- When to harvest for the best peppery flavor
- How to store arugula microgreens after harvest
🌱 Quick Answer
To grow arugula microgreens, sow dry arugula seeds on moist coco coir or a grow mat, keep them evenly moist, and place them under bright light after sprouting. Most trays are ready to harvest in 7–14 days.
What Are Arugula Microgreens?
Arugula microgreens are the young shoots of the arugula plant and are typically harvested when they are about 7-14 days old.
Because of its fast growth and unique taste it is one of the most popular microgreens.
The plant is also known as garden rocket by some and it actually grows wild in some parts of the Mediterranean region.
Because they are so young, microgreens are packed with nutrients and vitamins. Arugula microgreens in particular are high in vitamins C and K, as well as calcium, potassium, and iron.
They also contain a variety of phytochemicals and antioxidants that can have health benefits. Some potential benefits of eating arugula microgreens include improved heart health, better bone health, and a strengthened immune system.
Additionally, because microgreens are so young, they are often more flavorful than fully-grown arugula, so they can add a tasty and nutrient-rich boost to salads and other dishes.
Arugula (American English) or rocket (Commonwealth English) (Eruca vesicaria;… is an edible annual plant in the family Brassicaceae used as a leaf vegetable for its fresh, tart, bitter, and peppery flavor. https://en.wikipedia.org/wiki/Eruca_vesicaria
Arugula Microgreens Benefits
Arugula microgreens are a nutrient-dense food, with a high concentration of vitamins and minerals. A serving of arugula microgreens (about 1 cup) contains:
Vitamin C: 22% of the daily recommended value
Vitamin A: 26% of the daily recommended value
Vitamin K: over 100% of the daily recommended value
Calcium: 4% of the daily recommended value
Iron: 6% of the daily recommended value
Potassium: 4% of the daily recommended value
Manganese: 6% of the daily recommended value
Additionally, arugula microgreens are a good source of antioxidants, which can help protect the body against oxidative stress and disease.
They are also low in calories and fat, making them a healthy choice for those looking to manage their weight.
What’s The Difference Between Arugula And Arugula Microgreens?
Arugula and arugula microgreens are actually the same type of plant, but they are at different stages of growth.
Arugula is a type of plant with leafy greens that is commonly used in salads and other dishes. It has a slightly spicy flavor and is known for its distinctive taste.
Arugula microgreens, on the other hand, are very young arugula plants that are harvested just a few weeks after they are germinated.
They are smaller and a little bit more delicate than mature arugula leaves, and they have a more intense flavor.
What does arugula taste like?
Arugula has a slightly spicy and nutty flavor. Some people describe it as having a mustard-like or peppery taste. It is often used in salads and other dishes to add a burst of flavor.
Because of their small size, arugula microgreens are often used as a garnish or added to dishes as a flavorful and nutritious topping.
In short, the main difference between arugula and arugula microgreens is their size and flavor.
Arugula microgreens are smaller and have a more intense flavor, while mature arugula leaves are larger and have a milder flavor.
How To Grow Arugula Microgreens In 7 Easy Steps
Before you start growing arugula you need to gather your materials together. You will need arugula microgreen seeds, growing trays, and a growing medium like potting soil or coco coir.
If you are a beginning gardener it might be easiest to start with a kit. So if you want to skip gathering your growing supplies separately you can get started by buying an arugula starter kit.

If you prefer to grow your arugula and start from scratch here are the seven steps for growing arugula microgreens:
How To Grow Arugula Microgreens In 7 Easy Steps
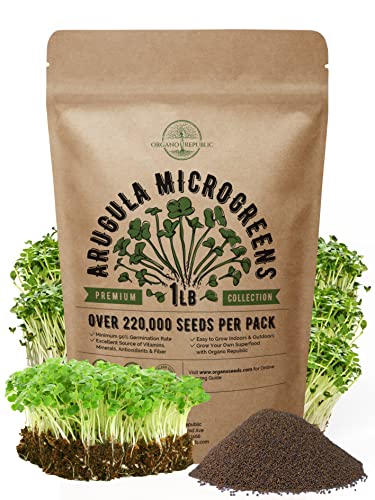
1.Get your arugula seeds
Start by obtaining arugula seed packets from a reputable supplier or you can buy them online. Unlike some other vegetable seeds, there really aren’t any special varieties of arugula to recommend.
2. Prepare the Growing Medium
Depending on how much space you have available, select one or two shallow containers for growing your microgreens.
Using a 2 tray system will allow bottom watering of your arugula seedlings. This is the best method of watering microgreens.
One container should have drainage holes and growing media in it and the other should be empty.
You will want to place water in one and set the tray with the holes inside it to bottom water your soil.
Fill these with a moisture-retaining soil mix suitable for germinating seeds such as potting mix, coconut coir, sphagnum moss, or vermiculite/perlite mixture.
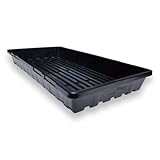 You can use recycled food containers or clamshells for microgreen trays as long as they are clean.
For best results prepare a 1020 seed propagation tray or container with a growing medium, such as potting soil or a soilless mix, or coconut coir.
Arugula grows best in a light airy growing mix that holds moisture without becoming soggy.
- 70% coco coir
- 30% perlite
This mix gives excellent drainage, keeps roots healthy, and helps reduce mold problems in dense trays.
3. Plant the Seeds
Spread out your arugula seeds over the surface of the moistened soil and lightly press the tiny seeds into place using your fingers or a small spoon.
Dont presoak your seeds. It is much easier to sow dry arugula seed.
Sprinkle the seeds over the surface of the growing medium, making sure to distribute them evenly and about 1/4 inch apart.
4. Cover the Seeds
To ensure that your arugula microgreens get adequate moisture, cover them with a thin layer of moistened soil.
Water the seeds gently, by misting them using a spray bottle. The seeds should be moist but not waterlogged.
Avoid giving them too much water it can cause mold issues or fungal diseases.
5. Place in a Sunny Spot
Place the container in an area with plenty of sunlight, such as a south-facing windowsill.
Place the tray or container in a location that receives indirect sunlight and has a consistent temperature of around 70-75 degrees Fahrenheit.
During the winter months in North America, you may not have enough natural lighting to grow microgreens. You need at least 4-6 hours of direct sunlight.
So most likely you will need to provide supplemental lighting. Here is an LED grow light that will work well:

🏡 Best Indoor Locations for Arugula Microgreens
Arugula microgreens grow best in bright mild indoor spaces with steady airflow.
- Kitchen windowsills: Great for easy harvesting.
- Grow light shelves: Best for year-round production.
- Plant racks near east-facing windows: Great for softer morning light.
- Cool utility rooms with lights: Good for stable growth.
6. Water Regularly
Keep the soil moist but not saturated by watering lightly every day. Mist watering is a beneficial way to help keep the surface of the soil evenly moist while preventing waterlogging. You can also bottom water your baby plants.
Keep the seeds moist by watering them regularly, making sure to not let the growing medium dry out completely, and also avoid overwatering your seedlings. When they are very small they can’t use a lot of water.
7. Harvest when Ready
Your arugula microgreens will be ready to harvest after about 7-14 days and 1-3 inches tall.
After about 7-10 days, the arugula microgreens should be ready to harvest but you can begin by starting to thin them out and letting some plants get larger.
Simply cut them off at the base of the stems, using scissors or a sharp knife.
If you want to extend your harvest try removing just single outer leaves and leaving the top of the stem intact.
By following these steps, you can easily grow a healthy crop of your own arugula microgreens in no time.
Not only are they incredibly delicious and nutritious, but growing them is also a fun and rewarding experience for any gardener.
So don’t hesitate to get started on growing your own arugula microgreen garden today.
How Do You Store Arugula Microgreens?
Arugula microgreens can be stored in the refrigerator in a container or plastic bag that has ventilation holes. It’s important to keep them dry and away from moisture to prevent spoilage.
To extend their shelf life, you can place a paper towel in the container to absorb excess moisture.
You can also place the container in the crisper drawer of your refrigerator to keep the microgreens fresh for as long as possible.
It’s best to use the microgreens within a week for the best flavor and texture. Here is more info on how to store microgreens.
🛠️ Common Problems / Troubleshooting
Mold on Soil
Usually caused by overwatering or poor airflow.
Leggy Growth
Needs stronger light or lights closer to the tray.
Slow Germination
Often cooler temperatures or older seed.
Bitter Flavor
Usually harvested too late.
Uneven Growth
Usually uneven seed spread or moisture.
🌿 Arugula Microgreens FAQs
How long do arugula microgreens take to grow?
Usually 7–14 days depending on light and temperature.
Do arugula seeds need soaking?
No. Arugula seeds are small and easier to sow dry.
Do arugula microgreens regrow after harvest?
Usually no, unless you harvest lightly and leave some leaves behind.
Can you grow arugula microgreens hydroponically?
Yes. Coco mats and hydro mats both work well.
Are arugula microgreens spicy?
Yes. They have a stronger peppery flavor than many beginner microgreens.
🌿 Final Thoughts: Fast Peppery Greens for Small Spaces
Arugula microgreens are one of the easiest ways to grow bold flavorful greens indoors. They’re quick, compact, and perfect for anyone who wants stronger-tasting microgreens.
If you enjoy spicy greens, arugula is a great crop to keep in rotation alongside radish, mustard, and broccoli microgreens.