
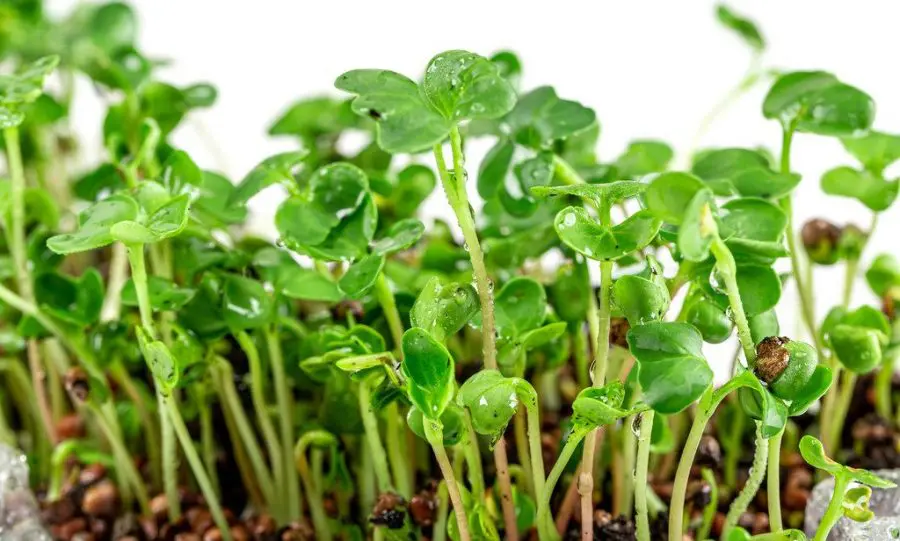
How to Grow Radish Microgreens is one of the easiest ways to start growing your own food indoors. They germinate fast, grow quickly, and give you a spicy harvest in about a week.
Radish microgreens are one of my favorite beginner crops because they’re forgiving, colorful, and easy to grow in small trays with very little space.
This guide walks you through the full process, from choosing seeds and trays to harvesting and storing your radish microgreens for the best flavor.
🌱 What You’ll Learn
- The best radish varieties for microgreens
- Why coco coir works so well for fast crops
- How to water without causing mold
- The best lighting setup for stronger stems
- When to harvest for the best flavor and texture
🥬 Quick Answer
To grow radish microgreens, sow seeds densely on moist coco coir or potting mix, keep them warm and lightly moist, and provide strong light after germination. Most trays are ready to harvest in 7–10 days.
What Are Radishes?
The radish (Raphanus raphanistrum subsp. sativus) is an edible root vegetable of the family Brassicaceae that was domesticated in Asia prior to Roman times.
Radishes are grown and consumed throughout the world, being mostly eaten raw as a crunchy salad vegetable with a pungent, slightly spicy flavor, varying in intensity depending on its growing environment. https://en.wikipedia.org/wiki/Radish
Radish Varieties
Some good radish varieties for growing microgreens include Cherry Belle, Sparkler, and French Breakfast.
These varieties are all known for their spicy and flavorful leaves, and they are well-suited for growing as microgreens.
Other radish varieties that are commonly used for microgreens include China Rose, Black Spanish Round, and Easter Egg and Daikon radish.
The China Rose radish is a very popular variety of microgreens. Red Rambo radish microgreens are another fast-growing, popular variety.
Most radishes have green leaves and purple stems but some varieties have purple leaves too.
It’s important to note that the flavor of radish microgreens can vary depending on the variety of radishes that were used to grow them, so you may want to experiment with different varieties to find the ones that you like best.
How To Grow Radish Microgreens In 7 Easy Steps
Growing radish microgreens is a simple process that anyone can do with minimal effort.
To 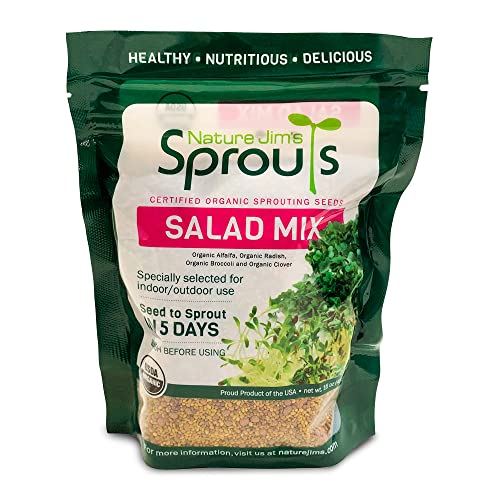 get started, you’ll need some basic supplies such as soil, radish microgreen seeds, and a shallow tray or container.
Microgreen seeds will be certified organic and non-GMO.
Some garden seeds are treated with chemicals so you don’t want to use regular seeds unless you’re sure they are untreated.
You will not be growing mature plants but will be after the greens so you will not get mature radishes from them. We will walk you through the whole process.
1. Choose a Suitable Growing Tray
Make sure to use a shallow, wide container with drainage holes in the bottom. You can use recycled clamshells or other plastic containers but make sure to thoroughly clean them.
Bottom watering is a great way to water your radish seeds. You will want one microgreens tray with holes and one without.
 1020 seed propagation trays are a much better alternative to using odd-sized recycled trays.
You will put your growing medium in the top tray with holes. To water, you will fill the second watering tray partly full and place the tray with soil in it.
Watering this way will prevent washing your seeds around as with top watering methods. Don’t use cold water.
2. Fill Up Your Container With Soil
Radish microgreens grow fast and don’t need rich soil, but they do need a lightweight medium that holds moisture without getting soggy.
- 70% coco coir
- 30% perlite
This mix gives excellent airflow, fast germination, and cleaner harvesting compared to heavy potting soil.
 Coconut coir is light and holds moisture well and will result in good seed termination rates.
3. Place The Radish Seeds Into The Soil
To start your next step bottom water your tray before seeding it. Don’t soak your seeds before planting because they will be harder to sow evenly.
Spread the radish seeds evenly over the surface of the soil. You can press them in with your fingers or cover them lightly with additional soil.
You want to sprinkle your radish seeds over the soil surface, leaving very little space between each seed for an optimal germination rate and a full tray.
After sowing your seeds give the tray a light misting with a spray bottle to make sure there is moisture for germination.
I like to place a seedling tray on top of the seedbed to help hold in moisture. When there are radish sprouts showing in a few days I take the tray off.
Radish seeds will usually germinate in 3 days and then they will be ready to harvest in about a week. Keep your radishes at room temperature they are a cool weather crop. Avoid giving them too much water.
4. Place In A Bright Location
Place your tray in an area that receives some direct sunlight each day for up to 6- 8 hours for even growth.
Microgreens need plenty of sunlight, so make sure you place them in an area with a good light source.
If you live in North America there will not be enough natural light in most locations.
You will need to use supplemental lighting to grow your microgreen radish crop. This LED grow light will give great results.

🏡 Best Indoor Locations for Radish Microgreens
Radish microgreens grow best in bright warm areas with decent airflow.
- Kitchen windowsill: Great for one or two trays.
- Grow light shelf: Best for year-round consistency.
- Plant rack near a bright window: Good for running multiple trays.
- Utility room with lights: Good if warm enough.
5. Water Regularly
Keep your microgreens moist but not too wet, as this can cause fungal growth and rot in your microgreens. Don’t overdo it with bottom watering.
A fast crop like radishes probably only needs one bottom watering. From there use a spray bottle to give them a light misting or two every day.
6. Harvest When Ready
Radish microgreens are typically ready to harvest 7 days after planting. Once you see the first two leaves appear, they are ready to be harvested.
You can go until you start to see their first true leaves if you want in about 10 days.
To harvest them, simply use scissors or a sharp knife to cut the microgreens at the base of the stem.
Make sure to use them soon after cutting and place any unused radish microgreens in the refrigerator to extend their shelf life.
This will help to ensure that the microgreens are as fresh and flavorful as possible. Never store microgreens in an airtight container they need ventilation.
7. Enjoy
Now that you’ve learned how to grow radish microgreens in 7 easy steps, it’s time to enjoy your harvest.
You can add them as a topping for salads or as a colorful garnish for dishes.
You can store them for about a week in the fridge inside a plastic bag or container that has holes. Place a paper towel inside the container Here is more info on how to store microgreens.
Here’s more info on how to store microgreens.
What Do Radish Microgreens Taste Like?
Radish microgreens have a spicy and slightly bitter flavor that is similar to full-sized radishes.
The flavor of radish microgreens can vary depending on the variety of radish that was used to grow them, with some varieties being milder and less spicy than others.
Overall, radish microgreens are a tasty and versatile addition to any dish and can add a spicy kick to salads, sandwiches, and other dishes.
Radish Microgreens Nutrition
Radish microgreens are becoming more and more popular in the health food community due to their high nutritional value.
They are packed with essential vitamins, minerals, and antioxidants that can provide a wide array of health benefits ranging from promoting overall kidney health to aiding in digestion.
Radish microgreens contain high levels of Vitamin C, folate, and Vitamin K which are perfect for boosting your immunity.
Along with being nutrient-dense, these tiny greens have an incredible crunchy texture that makes them a great addition to salads and sandwiches, or even as a garnish for main dishes.
Studies have shown that adding radish microgreens to a daily diet can provide tangible positive impacts on one’s overall health.
Get more information on radish health benefits
🛠️ Common Problems / Troubleshooting
Mold on Soil
Usually from too much moisture or poor airflow.
Leggy Growth
Needs stronger light or the light closer to the tray.
Uneven Germination
Usually uneven moisture or seed distribution.
Yellow Leaves
Often low light or harvest delayed too long.
Damping Off
Reduce watering and improve airflow immediately.
🌱 Radish Microgreens FAQs
How long do radish microgreens take to grow?
Usually 7–10 days from sowing to harvest.
Do radish microgreens regrow after cutting?
No. Radish microgreens are usually single harvest crops.
Can I grow radish microgreens without soil?
Yes. Coco mats work very well for radish microgreens.
What do radish microgreens taste like?
Spicy, peppery, and crisp like mature radishes.
Do radish microgreens need fertilizer?
No. The seed carries enough energy for the microgreen stage.
🌿 Final Thoughts: One of the Fastest Microgreens You Can Grow
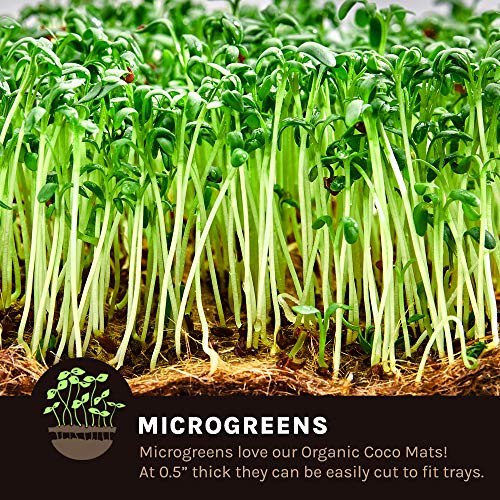
Radish microgreens are fast, flavorful, and one of the easiest beginner crops for indoor growing. They give quick results and make it easy to keep fresh greens in rotation.
Once you get comfortable with radishes, it becomes easy to branch out into broccoli, mustard, peas, and other microgreens.